How To Share A Calendar In Outlook 2010
The following instructions are for the individual who will create and maintain the shared calendar. Anyone else requiring access will receive an email invitation which will prompt them to accept the invitation and add the calendar to Outlook on their PC.
(Optional) Creating a New Calendar
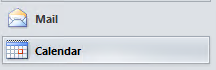
- Click on Calendar in the Navigation Pane
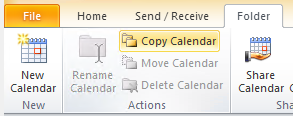
- Click on the Folder tab then New Calendar
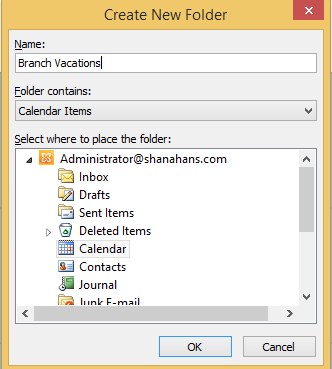
- Enter a calendar name and click OK
Share a custom calendar folder with specific people
- Click on Calendar, in the Navigation Pane.
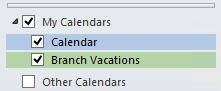
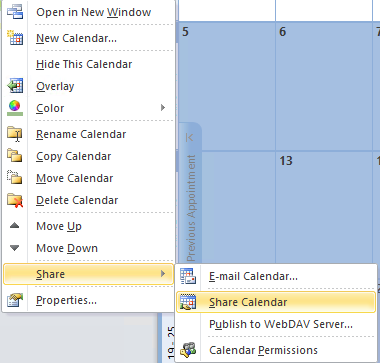
- Right-click the calendar that you want to share. In this example, we’re using “Branch Vacations”.
- Click Share > Share Calendar.
- Confirm you are sharing the correct calendar by checking the Calendar Name below the subject line.

- Enter the recipient(s) in the To field the same way you would any other email.
- Change the Subject if required.
- If you want to give recipients the ability to make changes to this calendar, click on the Recipient can add, edit, and delete items in this Calendar check box.

- In the message body, type any information that you want to include.
- Click Send.
- Review the confirmation dialog box, and then, if correct, click OK.